What to Expect During a Residential Roofing Replacement
Replacing your roof is a significant investment, but it’s essential for the safety, comfort, and value of your home. Whether you’re dealing with wear and tear, preparing your house for a sale, or simply looking to upgrade to a more energy-efficient system, a residential roofing replacement can make a world of difference. Not only does a new roof enhance the curb appeal of your home, but it also provides better protection against the elements and improves energy efficiency. However, many homeowners are unsure about what to expect during this process. In this blog, we’ll walk you through the steps of a typical roof replacement and give you a better understanding of the timeline, costs, and potential disruptions, helping you prepare for a smooth and stress-free experience.
Scheduling the Initial Consultation and Roof Assessment
The first step in any residential roofing replacement is scheduling a consultation with a roofing contractor. During this assessment, the contractor will evaluate the condition of your roof to determine the scope of the project. They’ll look for damage such as missing shingles, leaks, or structural issues that need to be addressed. It’s essential to be upfront about any concerns you have about your roof, as this will help the contractor provide a more accurate estimate.
After the assessment, the roofing contractor will provide a detailed plan for the replacement, including an estimate for costs and the timeline for completion. This is a crucial step to ensure that both parties are on the same page regarding the expectations for the project. According to This Old House, a significant 79% of homeowners rely on roofing contractors for their roofing projects, underscoring the critical role that professionals play in roof replacements.
Selecting the Right Materials for Your Roof Replacement
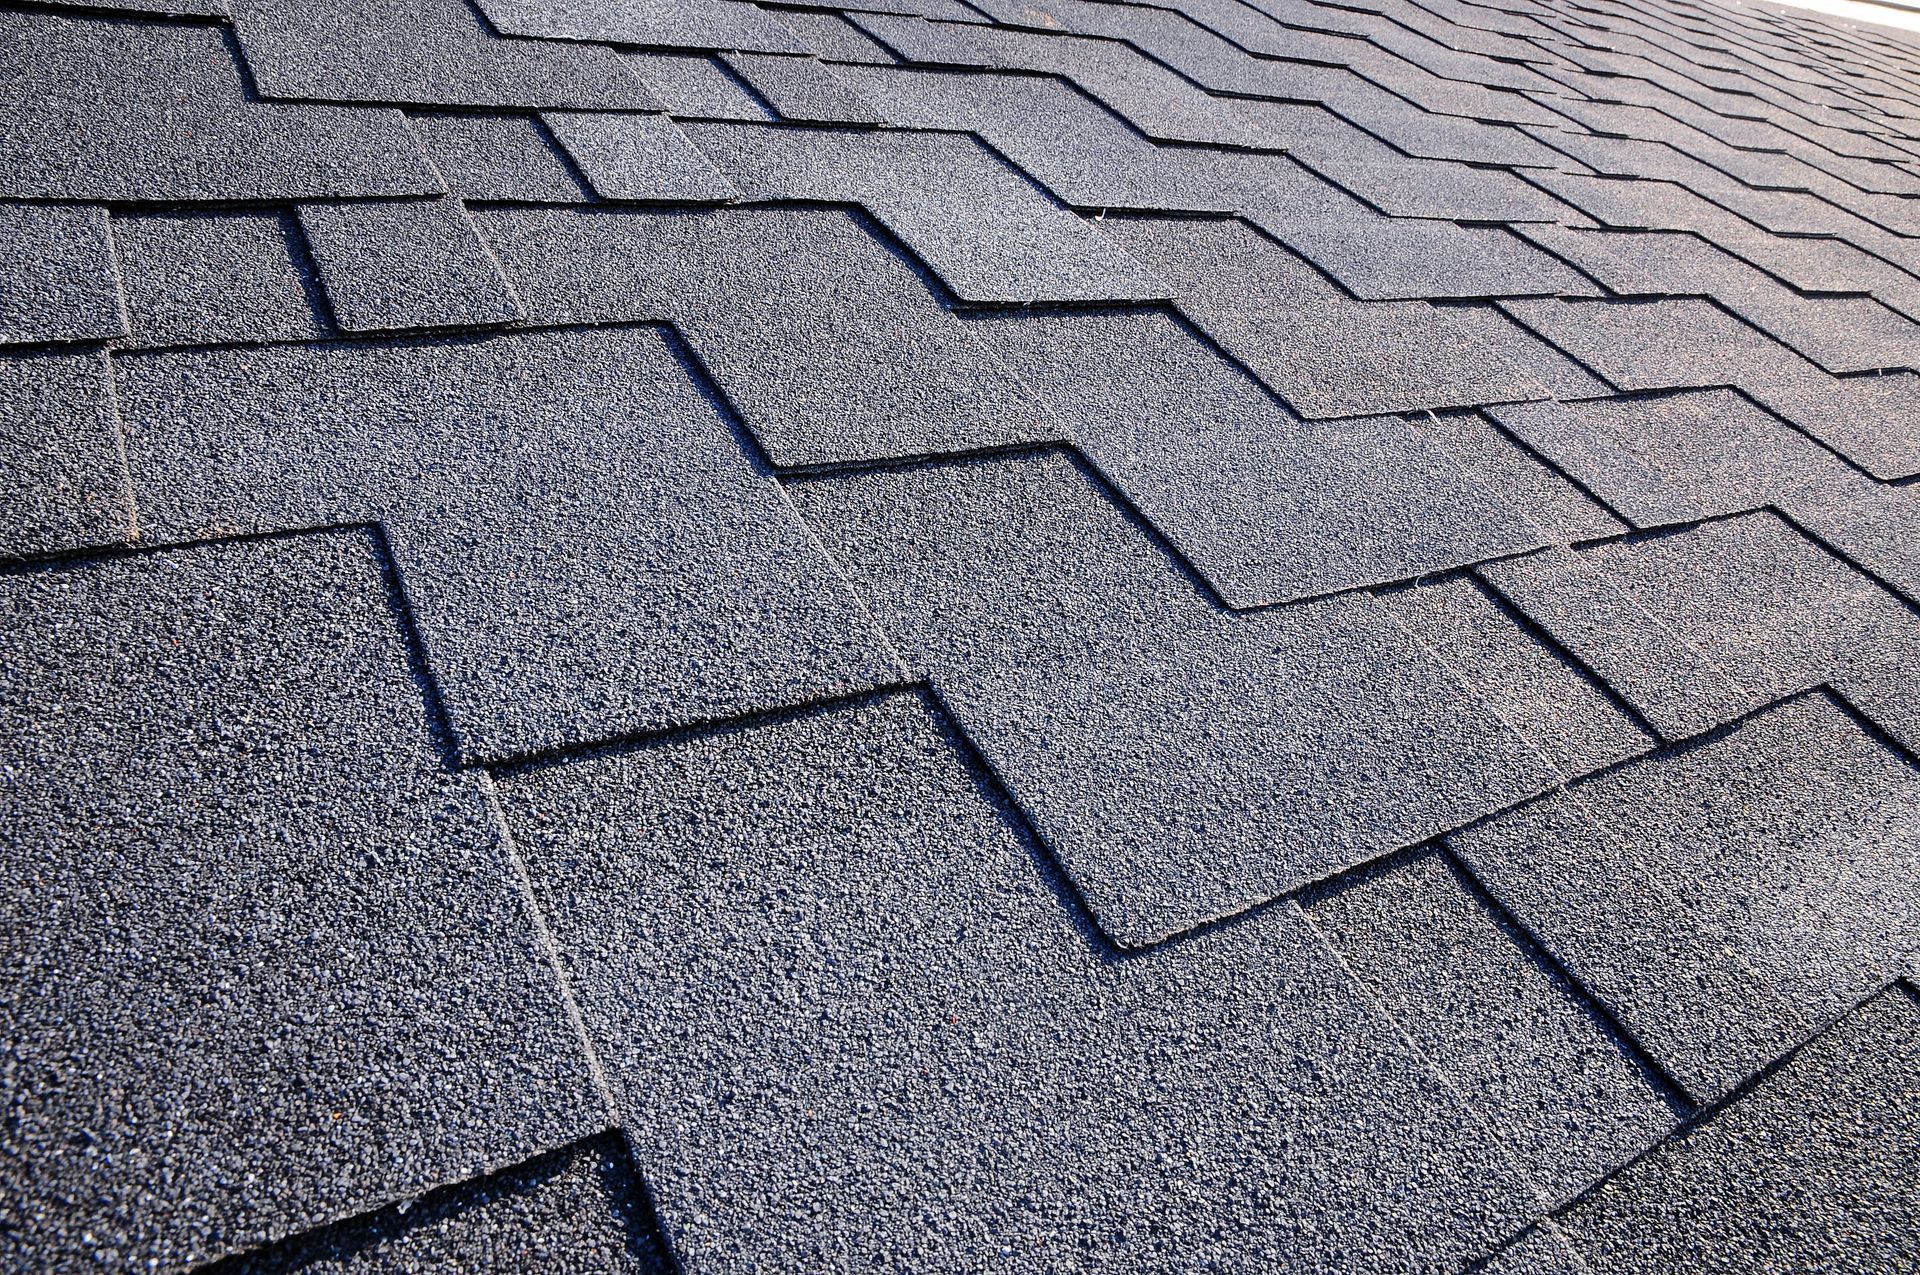
Once the assessment is complete, you’ll need to choose the materials for your new roof. Roofing materials come in various types, such as asphalt shingles, metal, tile, or wood, and the choice of material will affect both the appearance and durability of your new residential roofing. Each material has its advantages, so it’s important to discuss the pros and cons with your roofing contractor to make an informed decision based on your budget, climate, and aesthetic preferences.
The right materials can make a big difference in the long-term performance of your roof. For example, metal roofs are known for their durability and energy efficiency, while asphalt shingles are a popular, cost-effective choice. Your roofing contractor will guide you in selecting materials that fit your needs and ensure your home is protected for years to come.
Preparing for the Roofing Replacement Process
Before the roofing replacement begins, there are several preparations that need to be made to ensure the project goes smoothly. The contractor will typically ask you to clear the area around your home, including any vehicles, outdoor furniture, or delicate plants. This is to ensure the safety of both the workers and your property during the project.
The roofing team will also set up scaffolding, ladders, and protective tarps to cover landscaping or other parts of your home that may be at risk during the replacement. The area surrounding the roof will be cleared of debris, and precautions will be taken to protect your property from falling nails or other materials. These preparations are critical to minimizing the disruption and protecting your home throughout the replacement process.
Removing the Old Roof and Disposing of Old Materials
Once the preparation is complete, the actual replacement process begins with the removal of the old roof. This step involves tearing off the existing shingles or tiles, as well as the underlayment, to expose the roof deck. Depending on the size and condition of your roof, this can take a few hours to a day. The roofing team will carefully remove the old materials and transport them for disposal, ensuring that the area remains clean and organized during the residential roofing replacement process.
After the old roof is removed, the roofing contractor will inspect the roof deck for any damage or signs of wear. If there are any issues, such as rot or mold, they will need to be repaired before the new roof is installed. This is a critical step to ensure that the foundation of your new roof is stable and secure for years to come.
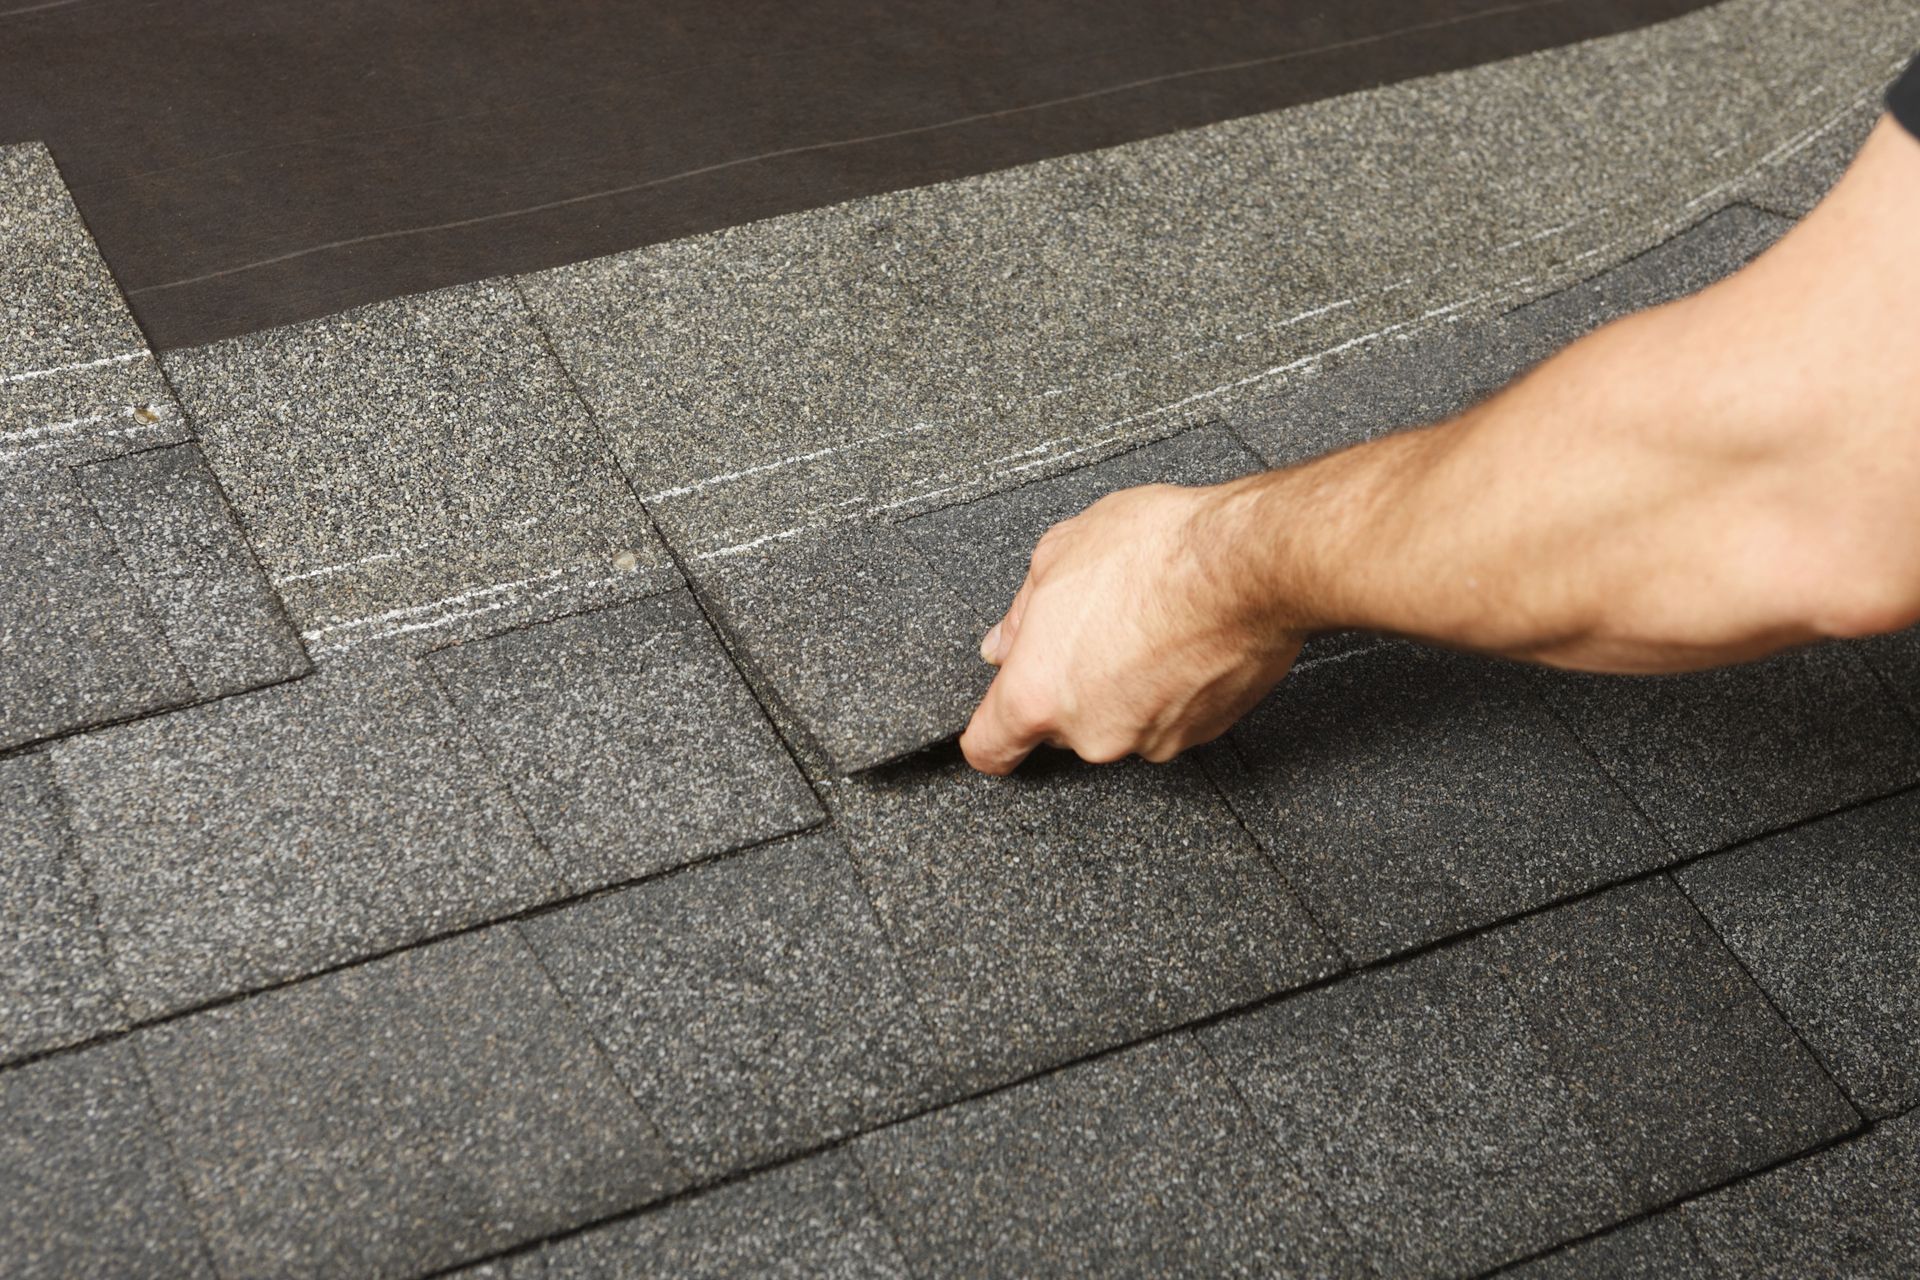
Installing New Roofing Materials and Components
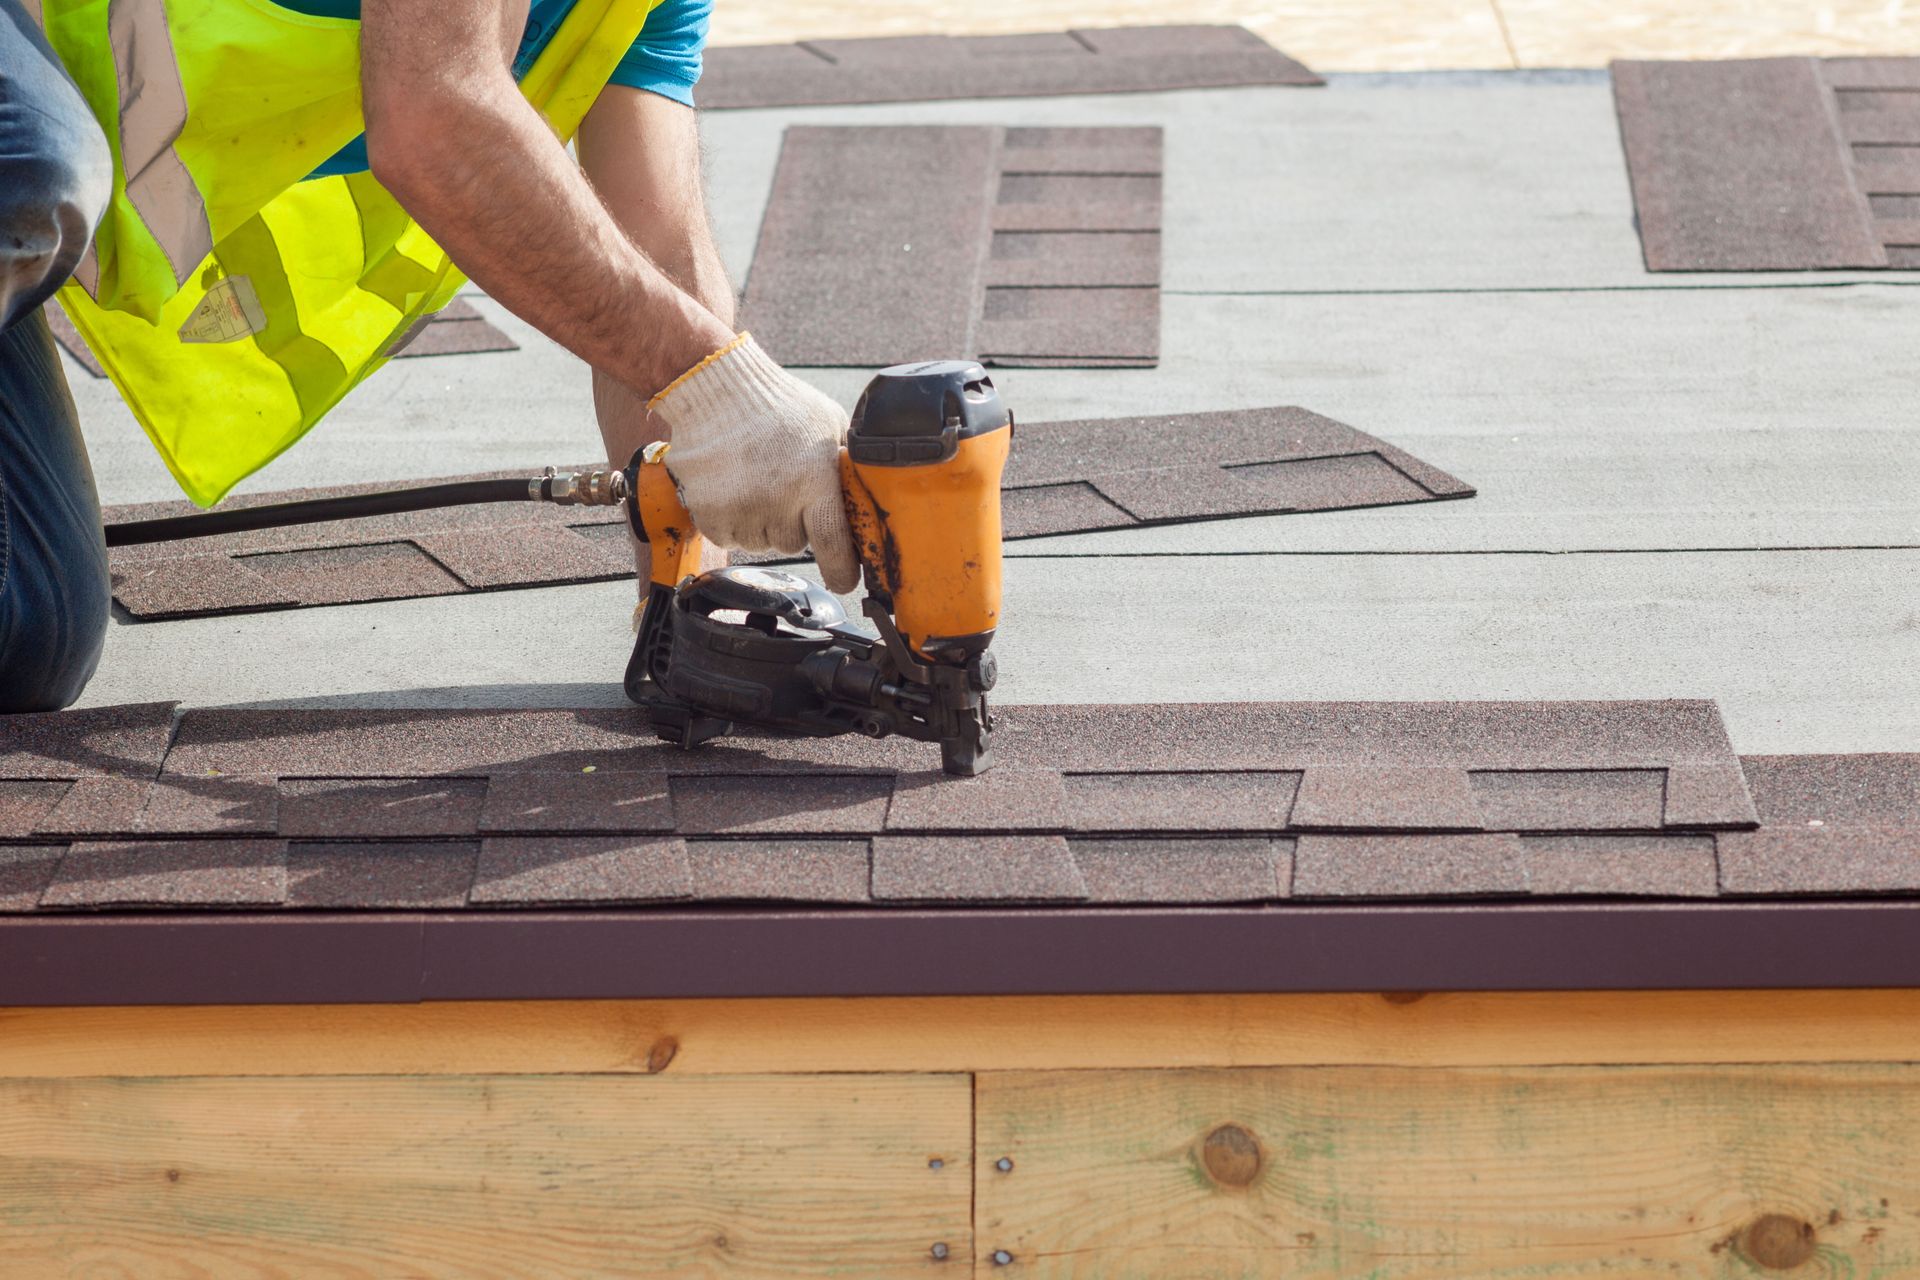
With the old roof removed and the deck inspected, the next step is the installation of the new roofing materials. The roofing contractor will begin by applying a layer of underlayment to the roof deck, which serves as a moisture barrier and adds an extra layer of protection against leaks. After the underlayment is in place, the contractor will begin installing the chosen roofing materials, such as shingles, tiles, or metal panels.
The installation process typically takes a few days to a week, depending on the complexity of the roof and the weather conditions. During this time, the roofing crew will work efficiently to ensure that the new roof is properly installed and sealed. The process will also include the installation of ridge vents, flashing around chimneys and skylights, and any other necessary components to ensure the roof is fully functional and weatherproof.
Conducting the Final Inspection and Job Site Clean-Up
Once the new roof is in place, the roofing contractor will perform a final inspection to ensure everything is up to code and meets their quality standards. They will check for any gaps, leaks, or imperfections that may need to be addressed before the job is completed. This inspection is also a time for you to ask any questions about the roof’s performance or the maintenance needed to keep your residential roofing in top condition.
After the inspection, the roofing crew will clean up the job site, removing any remaining debris, nails, or old materials. They will also perform a magnetic sweep around the property to ensure that no nails are left behind. Once the site is cleaned and all debris is removed, your new roof will be ready for use, and you’ll be able to enjoy the enhanced protection and aesthetics it provides.
Maintaining Your New Roof for Longevity
Once the roofing replacement is complete, it’s essential to maintain your new roof to ensure it lasts for many years. Regular maintenance includes inspecting the roof for damage, cleaning gutters, and removing debris from the roof surface. It’s also a good idea to schedule an annual inspection with your roofing contractor to identify potential issues before they become significant problems.
Proper roof maintenance will help you avoid costly repairs and keep your roof functioning at its best. By following your contractor’s recommendations and performing simple maintenance tasks, you can protect your investment and ensure the longevity of your residential roofing system.
Replacing your roof is a major investment, but it’s also one of the most effective ways to protect your home from the elements. By understanding the steps involved in a roof replacement, you can feel confident and prepared for the project ahead. Whether you’re replacing an old, damaged roof or upgrading to a more energy-efficient option, working with a professional roofing contractor ensures the best results.
If you're ready to start your residential roofing replacement, our expert team will guide you through the process. From the initial assessment to the final inspection, we will create a smooth and hassle-free experience. Call Regan Roofing, Inc now to take the first step toward a safer, more secure home.

Share On: